Quails in cages at poultry farm.
Hatching chicks is a delicate and rewarding process. As caretakers of a hatchery, you know that managing the incubation of eggs requires not just patience, but also knowledge and keen observation. One of the critical aspects of hatchery management involves knowing when to remove unhatched eggs.
This decision impacts both the health of your flock and the overall success of your hatchery. In this guide, we’ll dive deep into the world of incubation, egg candling, and the best practices to follow to ensure a smooth hatching process.
Understanding Incubation and the Hatching Process
The journey from egg to chick is fascinating. It all begins with incubation, where the conditions must be just right for development. You need to maintain optimal temperature and humidity levels throughout this period. Typically, eggs should be incubated at 99.5°F (37.5°C) with a humidity level of around 40-50% for the first 18 days. On day 18, you should increase the humidity to 65-70%, as the chicks begin to prepare for hatching.
During the incubation period, various factors can affect embryo development. Any fluctuations in temperature or humidity can lead to poor hatch rates or even complete failure. Thus, monitoring these factors meticulously is paramount. You should use a reliable incubator and regularly check its settings to ensure consistency.
As the days pass, you will notice changes in the eggs. On day 7, you can start candling the eggs to observe embryo development. This technique involves shining a bright light through the eggshell, allowing you to see if the embryo is growing. As you progress through the incubation days, you’ll develop a keen sense of which eggs are viable and which ones may not hatch. This knowledge is essential when deciding when to remove unhatched eggs.
In summary, the hatching process involves careful management of several critical factors. By understanding the incubation timeline and practicing candling, you can optimize your hatchery’s success and prepare for the day when your chicks will break free from their shells. Find out more at ecat-id.com.
Identifying Unhatched Eggs: Signs and Indicators
Recognizing the signs of unhatched eggs is crucial for effective hatchery management. After the initial incubation period, you should start evaluating each egg’s viability based on your observations from candling and any behavioral changes in the incubator.
If you notice that certain eggs are significantly darker than others during candling, this may indicate a lack of development. Healthy embryos typically appear as a network of blood vessels against a lighter background. Conversely, if you see a stark contrast with no visible signs of development, it might be time to consider that the egg has not progressed as it should.
Another indicator is the time it takes for the eggs to hatch. Usually, chicks begin to pip (break through the shell) around day 21. If an egg has not shown any signs of hatching by day 23, it may not be viable. It’s essential to keep a close eye on the incubation timeline and know the expected hatching day for each batch.
You might also observe behavioral cues in your incubator. If the incubator becomes excessively noisy and you notice pipping sounds from only a few eggs while others remain silent, this could signal that certain eggs have failed to develop. Staying vigilant and attentive to these signs will help you make informed decisions about when to remove unhatched eggs.
Finally, consider the potential implications of keeping unhatched eggs in the incubator. They may start to decompose, impacting the overall environment and potentially harming the health of the newly hatched chicks. Thus, it’s prudent to act promptly and efficiently.
The Removal Process: Best Practices
Deciding to remove unhatched eggs requires tact and care to maintain the health of your flock. Once you’ve identified the eggs that haven’t developed, plan the removal process strategically.
Before starting, ensure your workspace is clean and well-prepared. This will minimize the risk of contamination. Use gloves to handle the eggs, as this reduces the transfer of bacteria and maintains the hygiene of both your hands and the eggs.
When removing unhatched eggs, consider gently placing them in a separate container. This will allow you to inspect them further without disturbing the remaining eggs. You might find that some eggs are no longer viable and could even be past the point of developing a chick. In these cases, you may wish to discard them immediately to avoid any health risks.
It’s crucial to assess the integrity of the egg before disposal. If you notice any signs of spoilage, like a foul odor or leakage, dispose of these eggs right away. Healthy eggs should be examined closely, as you might find some that can be salvaged for further incubation or even used in educational purposes.
After you’ve removed the unhatched eggs, closely monitor the remaining eggs. Adjust the humidity and temperature settings if necessary, and ensure your incubator remains a safe haven for the viable eggs. The care you provide during this stage significantly influences the overall outcome of your hatchery.
To sum up, removing unhatched eggs is a process requiring careful consideration and cleanliness. By following best practices, you can safeguard the healthy development of the remaining eggs and ensure a successful hatching for your chicks.
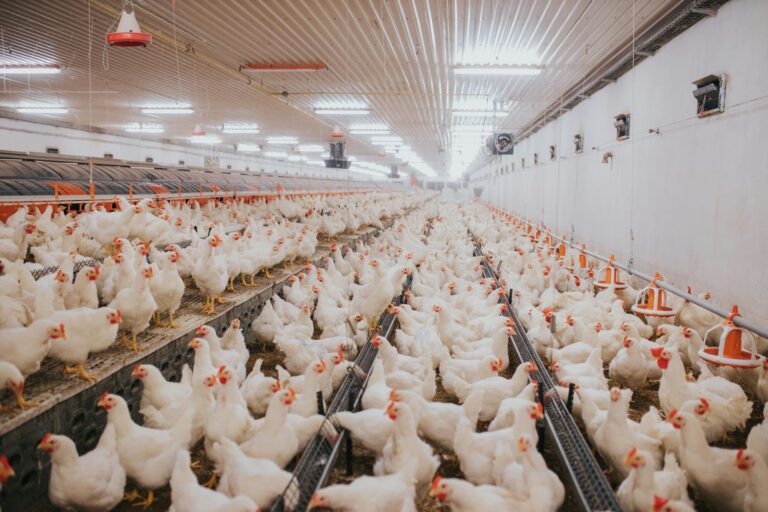
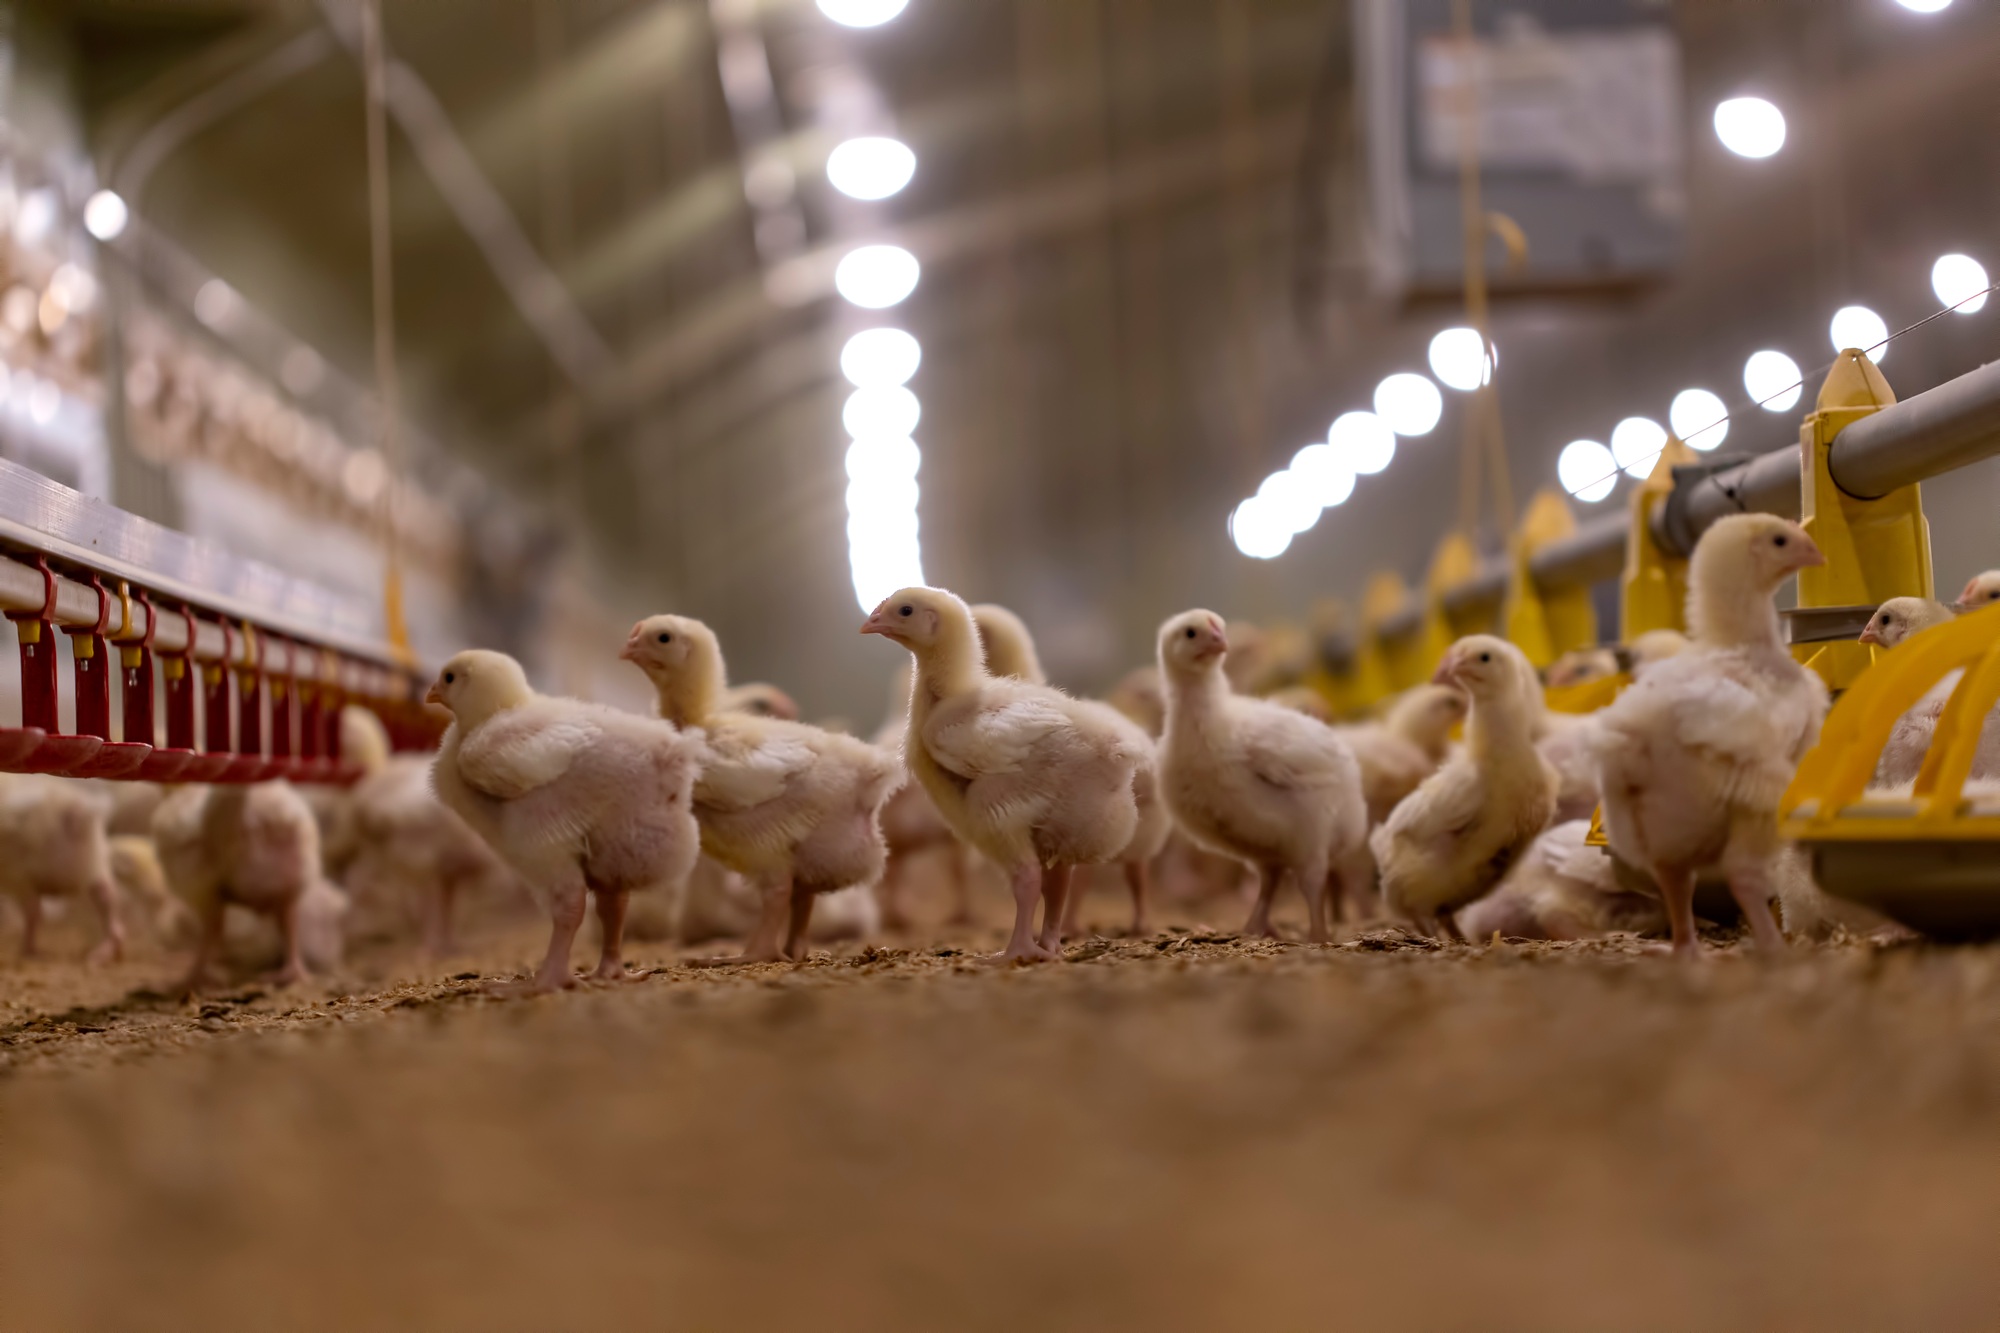
Post-Hatching Care and Management
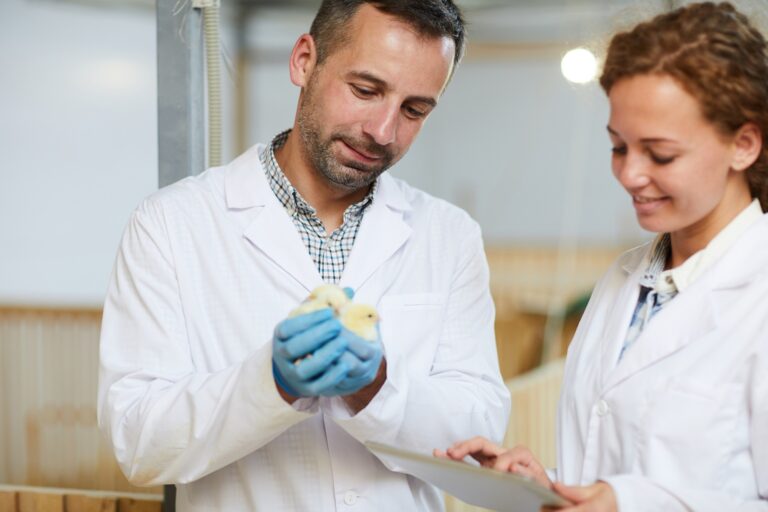
Once your chicks have hatched, the real work begins. Proper post-hatching care is essential to ensure the health and vitality of your new flock. As they emerge from their eggs, chicks are vulnerable and require specific conditions for optimal growth.
First, ensure the brooder is ready before the chicks hatch. The ideal temperature for newly hatched chicks is about 95°F (35°C) for the first week, gradually decreasing by 5°F each week until they are fully feathered. This mimics the warmth provided by a mother hen, which is crucial for the chicks’ development and overall wellbeing.
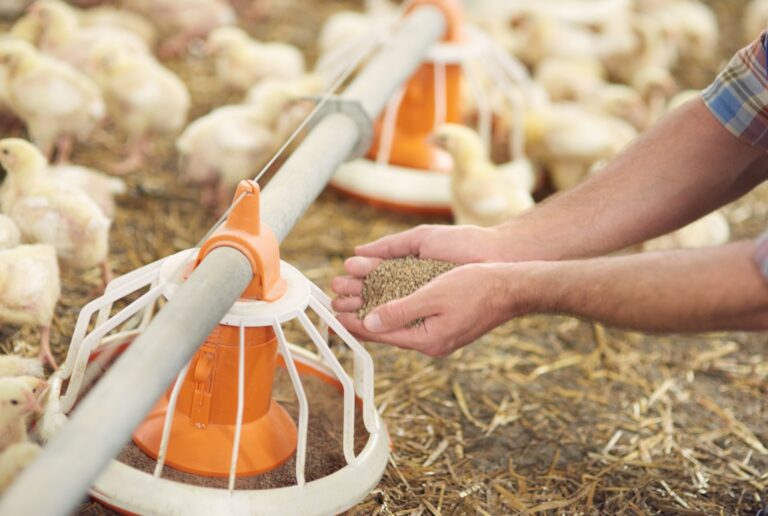
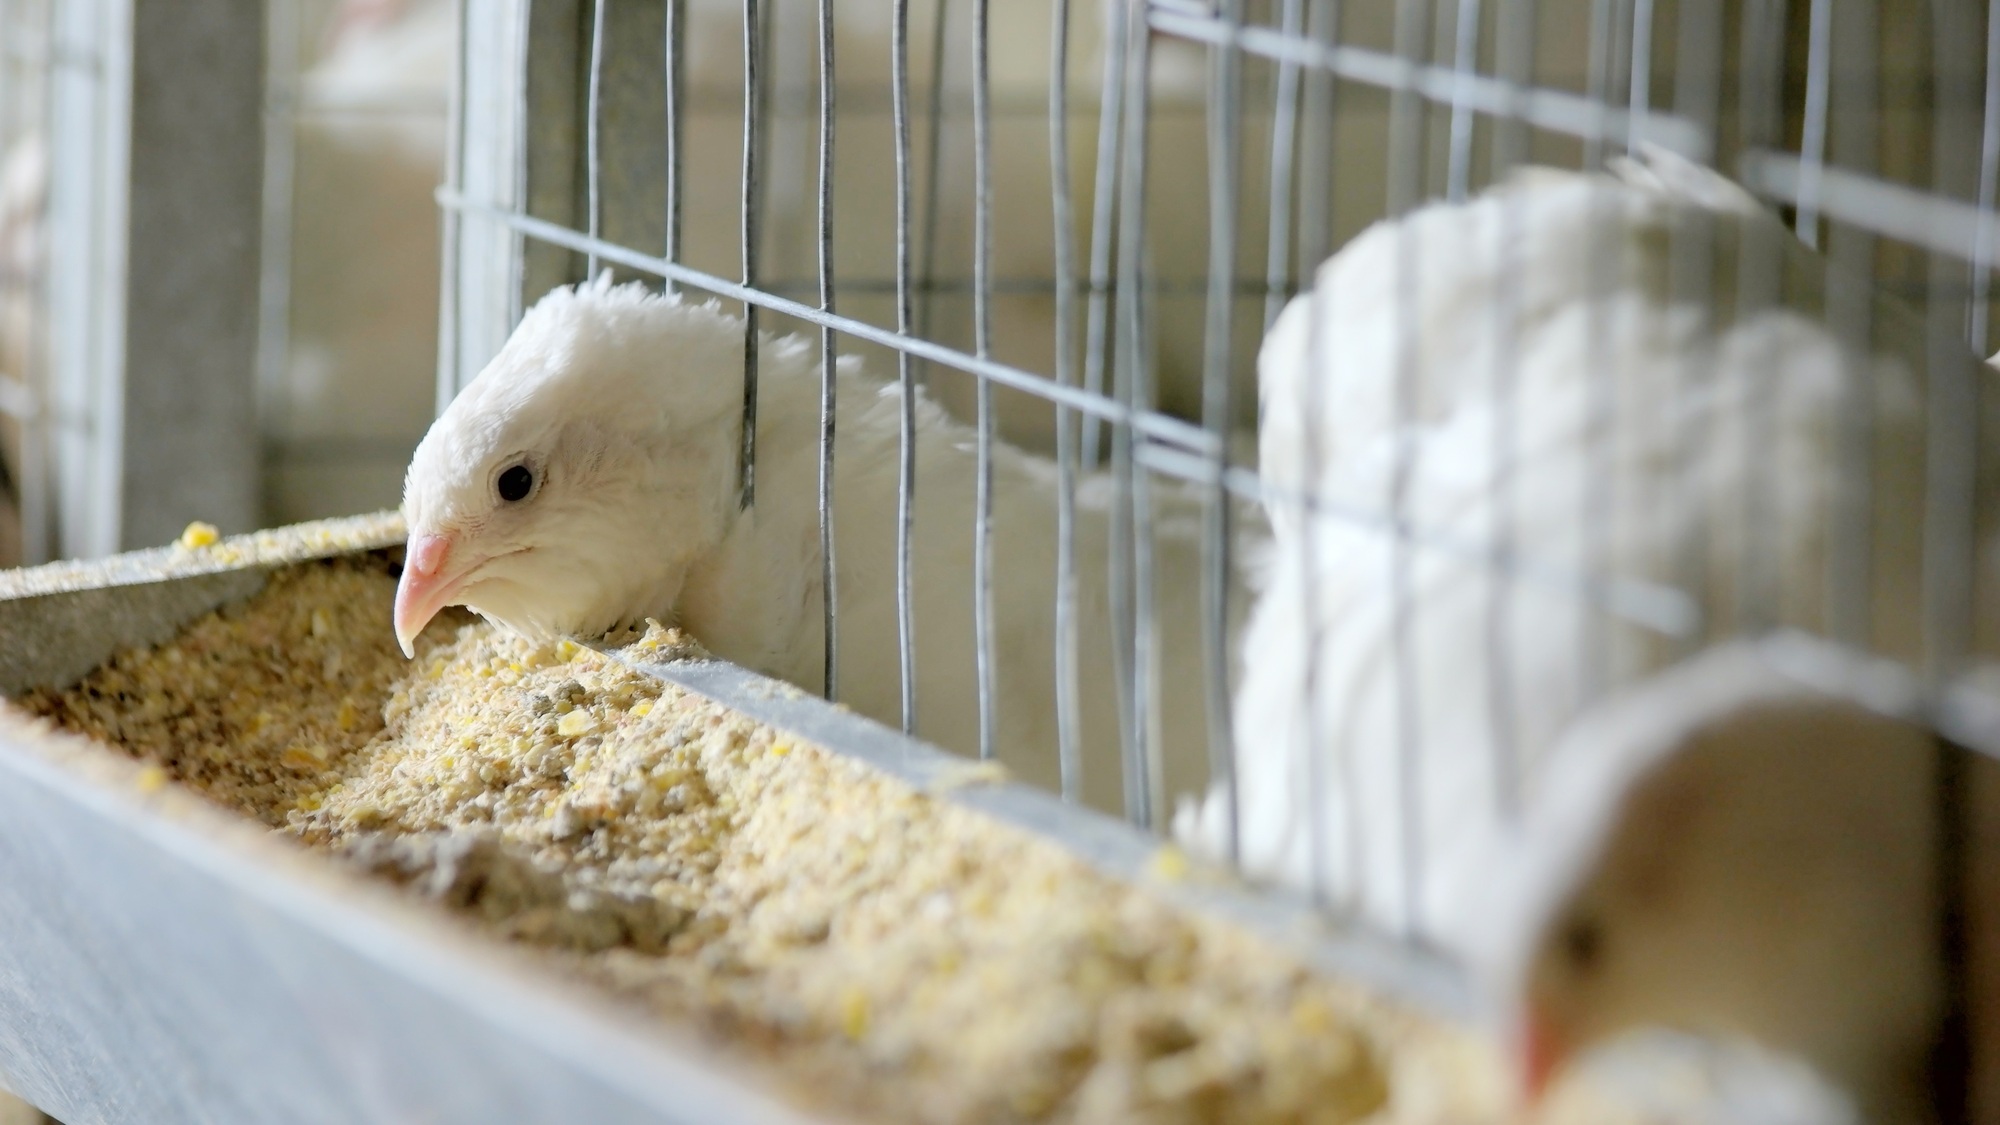
In addition to temperature, monitor the humidity levels in the brooder. Fresh air circulation is also vital as it helps in reducing ammonia buildup and provides an airy environment for the chicks. Make sure to provide adequate water and food supplies, choosing a starter feed formulated for chicks. This diet is crucial for their growth and lays the foundation for their future health.
In the first few days, observe the chicks closely. Look for signs of stress or illness, as those can escalate quickly. It’s essential to maintain a clean environment; regularly clean the brooder to prevent disease outbreaks within the flock.
In summary, the post-hatching care of your chicks sets the stage for their future. By creating a nurturing environment and closely monitoring their needs, you’ll pave the way for a healthy, thriving flock. Managing a hatchery and ensuring successful hatching is a continuous process that requires knowledge, skill, and attention to detail. By understanding the intricacies of incubation, recognizing unhatched eggs, and implementing best practices for removal and care, you position yourself for ongoing success.
As you refine your techniques and embrace each hatching cycle, your experience will grow, leading to improved outcomes for your chicks and flock management. Remember, every egg that hatches not only contributes to your herd but also furthers your journey in the captivating world of chick rearing. Your commitment to nurturing these little lives will always pay off, enriching your hatchery with vibrant, healthy birds.